This tutorial will guide you how use BJ ImageSlider component.
If you do not have this product, please download BJ ImageSlider here . To find the reason to purchase BJ ImageSlider Pro version, please click here to compare Free & Pro product.
01Determine the size of your slide-show, including main images and their thumbnails.For example, you want your slide-show to have the main image with the size of 650px * 350px, and thumbnail images have the size of 52px * 35px
02Config your slide show in BJ ImageSlider component's configuration section. Go to Components -> BJ ImageSlider -> Configuration, enter Image and Thumbnail width and Height, then click Save or Apply button.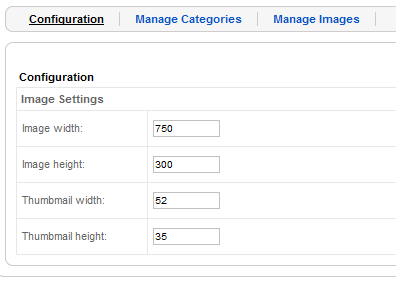
03Create a category for your images. Go to Components -> BJ ImageSlider -> Manage Categories. A list of your categories will be shown. Click New button to start create new category.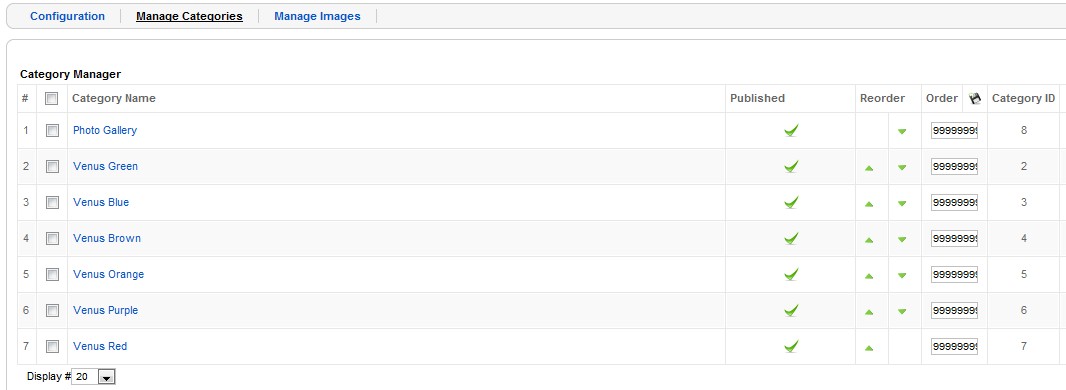
04 Once you have a category, for example: Blue-Business , start uploading your images to server by go to Components -> BJ ImageSlider -> Manage Images, then click Upload button.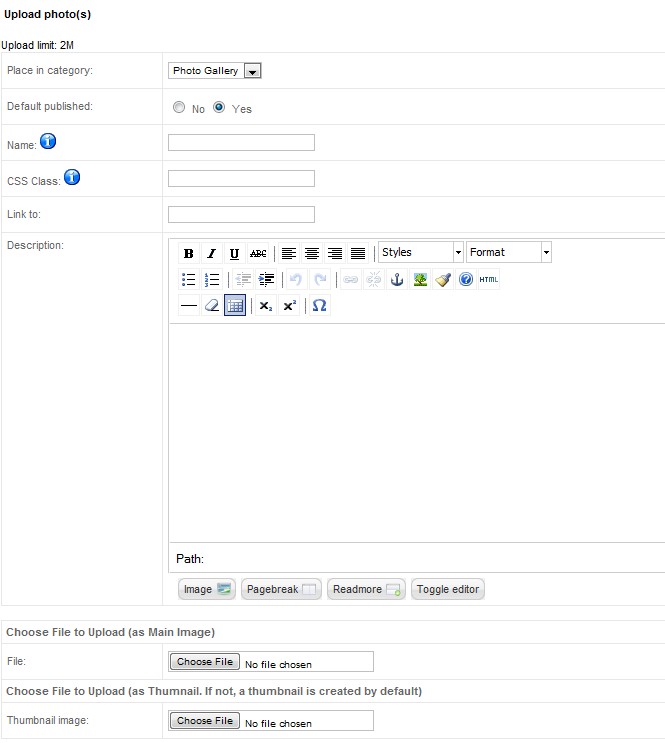
05Choose Blue-Business to place new image in. Enter Name and Description for the image. Enter CSS class for this image. Note that this CSS is fre-defined in BJ ImageSlider module, or you can use your own definition. This CSS class is used to style image's caption.
06Then choose images to upload as main image and thumbnail image. Click Upload button to finish uploading your images.
07Note that all published images in category will be shown in BJ ImageSlider.
